Step 1. Assemble the Cap:
An important update! We have integrated the cap with the feeder body to prevent users from refilling from the cap side. Please do not attempt to unscrew the cap, as this could damage the product and potentially harm your hands.
For the version where the cap is separated from the feeder body, please follow the guide below.
Begin by assembling the cap. Ensure the rubber ring fits smoothly inside the cap, then securely screw the cap onto the feeder. Make sure the markers are aligned or above the alignment line to maintain adequate sealing.Step 2. INVERT and Add Nectar:
INVERT the assembly and add nectar to the feeder. Keep the top side down before securing the base.
Step 3. Assemble the Bird Feeder Base with Feeding Ports and Bird Stand:
Choose from three different available colors: blue, yellow, and red. Select your favorite color to attract hummingbirds.
Step 4. Put Together the Base of the Bird Feeder:
Secure the bird feeder base to the body by screwing it on securely.
Step 5. Install the Camera with Antenna:
After attaching the camera and antenna, carefully slot them into the provided space on the feeder body.
Step 6. Apply the Hanging Hook
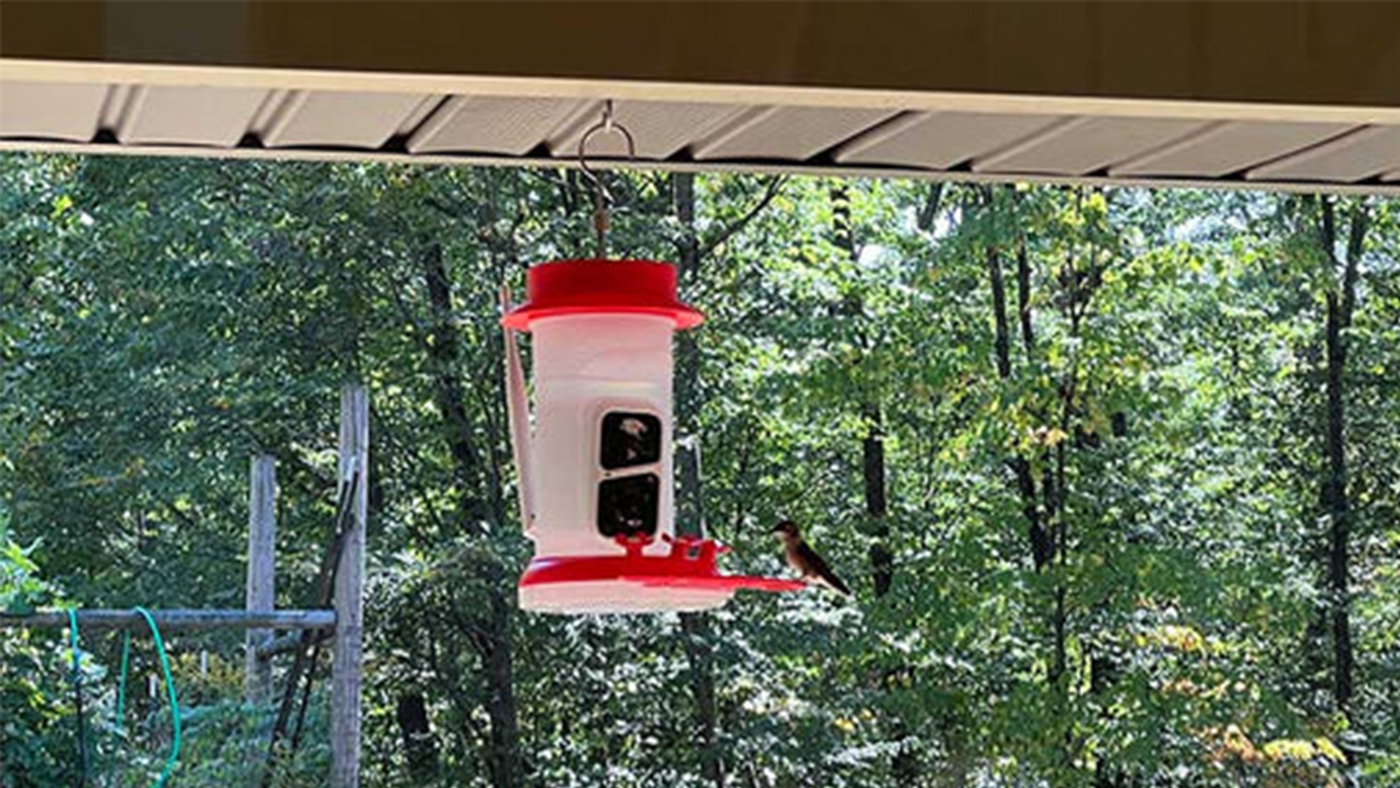
Apply the hanging hook with the cap. And then hang the feeder camera in the yard. And then wait for the hummers visit!


Leave a comment
This site is protected by hCaptcha and the hCaptcha Privacy Policy and Terms of Service apply.