There is no certainty or method of anticipation regarding as to when or how one might get into any sort of accident of any magnitude. Cars are integral to our daily lives for is evident since people pay a lot of money for their preferred choice of cars. Just like any asset, most individuals strive to protect and secure their cars. Apart from regular expenses its maintenance, there are payments for insurance among other expenditures.

Security surveillance camera systems have seen an exponential rise in demand in recent times. The similar can be said about the introduction of Dash Cameras. They are small cameras which can be mounted on the dashboard area of the car. The best dash cameras for car are designed to capture footage both from the front and the rear end while some also provide parking features. The best car dash camera has become a very effective means to record any accidental incidents, hit and run incidents, and directly helps deter theft-related incidents. A quality dash camera installed properly records everything while you are driving. It hence becomes a sound method to secure proof for any accidents for insurance claims.
Modern-day Dash cameras are very affordable devices and are easy to install. Below is an easy method is a small installation guide to mount a dash camera and make it look very clean.
- Choose your preferred position for dash camera
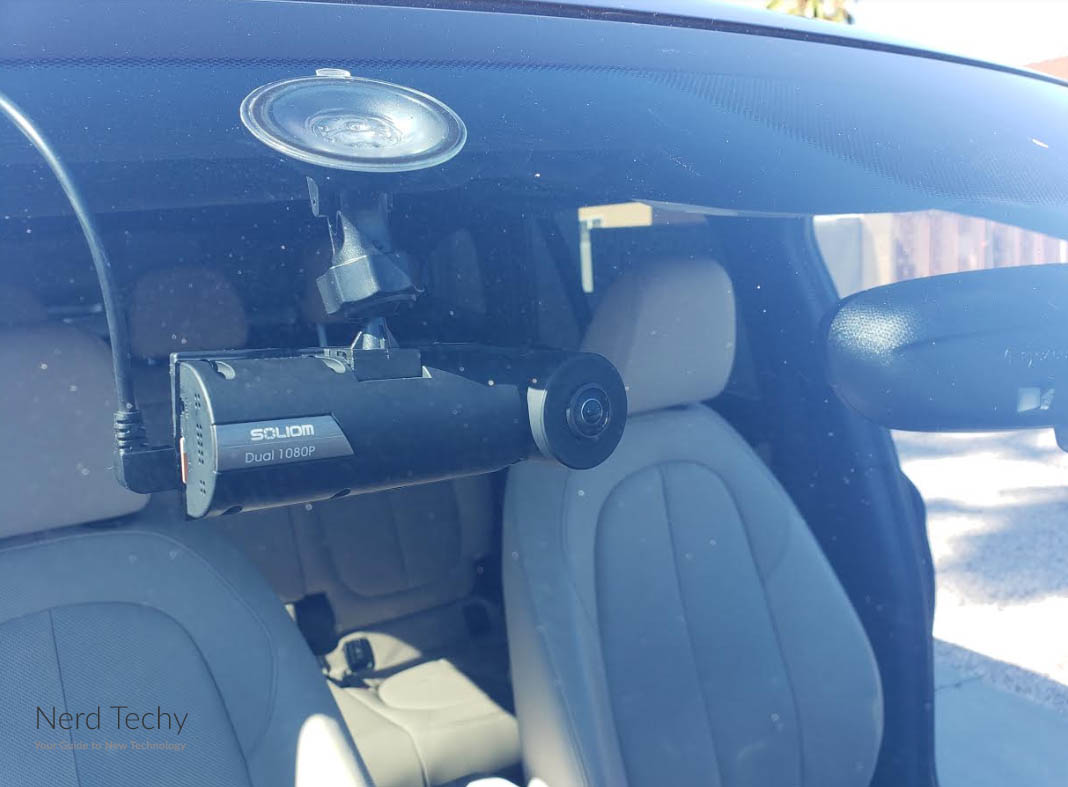
It is important to choose an appropriate location to mount your dash camera. The most recommended locations to mount your best dash camera are on the dashboard of the car or to hang the camera from the mirror overhead the dashboard.

- Mounting techniques for your dash camera
Different manufacturers have different methods to mount the camera. Some manufacturers provide two side adhesive tapes or suction cups to mount their best front dash cam in the location of your choice. In this case, it is wise to follow the instructions provided with the product.
- Secure power supply from Cigarette lighter socket
The simplest method to provide a power supply to your new dash camera is to plug-in into the cigarette lighter socket provided in your car. The wire cable can be easily and tidily be concealed between the roof lining and the windscreen. Making use of the cigarette lighter socket can be advantageous if you are planning to use one dash camera for multiple cars as it can be easily connected and disconnected.
- Dash Camera with your car circuit box
The most common method to provide a power supply is the dash camera directly with your cars circuit box. This method helps to turn the camera on and off automatically as and when you turn your ignition key is turned. The process of a technical process, so it is recommended that you seek a help in this regard. The process of the cleanest process through which no wires or cables will be visible at all.

- Alternate methods for power supply
There are two alternative methods we recommend for powering your dash camera. The first of the alternate is buying an OBD cable also known as Most recent cars have an OBD port under the steering wheel from where the OBD cable can be connected to. The second option is to buy a dash camera battery pack. This option releases the burden on your cars inbuilt battery.
With the above are the five important easy steps mentioned above how to install car dash cam, when are you installing in your car?


Leave a comment
This site is protected by hCaptcha and the hCaptcha Privacy Policy and Terms of Service apply.